Minimising diagnostic uncertainty
2021-01-285 important tips to get the most from your in-house cytology

As much as we may disdain it, diagnostic uncertainty is an inescapable component of medical practice. It can be one of the most challenging aspects of our job, leading to sleepless nights spent going over case details in our heads, or hours leafing through textbooks, online resources, or discussing cases with colleagues. We can never stamp out diagnostic uncertainty altogether, but we can do our best to minimise it, giving us greater confidence in our diagnoses and treatment plans.
In-house cytology offers us a fast, affordable avenue for raising our evidence base and directing case management, helping to reduce our diagnostic uncertainty. But without feedback or regular practice it can be difficult to build confidence in our microscopic interpretation. This is especially true when we are fighting against a microscope with an out-of-action 40 x lens, contaminated diff quick stains, and highly variable sampling and staining practices within our team.
Here are 5 simple tips that can be implemented in any clinic to ensure that you are getting the most from your in-house cytology. You can also find videos of some common in-house diagnostic procedures on our website, as well as access to a free online learning module on diagnostics that is designed for vets but suitable for nurses and students here: www.amrvetcollective.com/continuingeducation.
1. Set some laboratory protocols.
Veterinary practice can seem like the land of a thousand options, and while sometimes that individual variation may offer advantages, when you’re looking down the microscope at samples prepared by numerous other team members, it’s nice to have some consistency. Decide which lab procedures veterinary nurses will be assisting with and discuss the preferred protocols with your team. Once they have been decided, write them down and display them prominently at the site of sample preparation (we have templates on our website that you can download for just this purpose here: www.amrvetcollective.com/continuingeducation).
It’s a good idea to create a certification process whereby team members demonstrate their proficiency before getting to work on important diagnostic samples. Remember the old adage ‘use it or lose it’? Make sure those expected to perform these procedures get plenty of practice to build their skills and that there is respectful feedback to help team members improve.
2. Stain availability and maintenance.
This should be a no-brainer, but we’ll say it anyway - If you are staining both clean (eg FNA) and dirty (eg ear swab, sticky tape skin preps) samples make sure you have two sets of stains clearly identified as CLEAN and DIRTY. Make sure the lids are placed back on the stains after each use. Gloves, pipettes, forceps, clothes pegs, or multi-slide holders make useful additions to the diff quick staining station. Stains should be completely changed after approximately 50 samples, or at least once a week. Debris and microorganisms that grow in contaminated stains can really complicate diagnostic interpretation. If in doubt, throw it out.
3. Slides, coverslips, and immersion oil.
To avoid a build-up of dust, debris, and contamination make sure that all slides and coverslips are covered. If it is finicky to get the commercial lids on and off, then store these materials in an easy-to-open container such as a small lunchbox. This is also a handy place to store pencils so that they don’t disappear around the clinic! Try to handle slides by their edges or the frosted end to avoid contamination and fingerprints which also affect interpretation. Get into the habit of writing the patient’s name, sample site, and date on each slide (it helps when you can find a pencil to do this!).
When viewing slides, a coverslip should always be used to ensure a more even viewing plane. Do this by adding a small drop of immersion oil directly onto the slide, and then placing the coverslip on top. Be careful not to use too much oil. A further drop of immersion oil is then added on top of the coverslip for viewing with the 100x lens if this is required.
Remember to switch between the 100x and the 10x for alternative views to avoid getting oil on your 40x lens. If oil does get onto the 40x lens, it’s not the end of the world as long as the lens is cleaned then and there – you can use lens tissue alone or a little alcohol-based lens cleaner and lens tissue if needed. Allow the lens to dry completely before trying to use it again.
4. Know your scope and grow your interpretation skills through feedback.
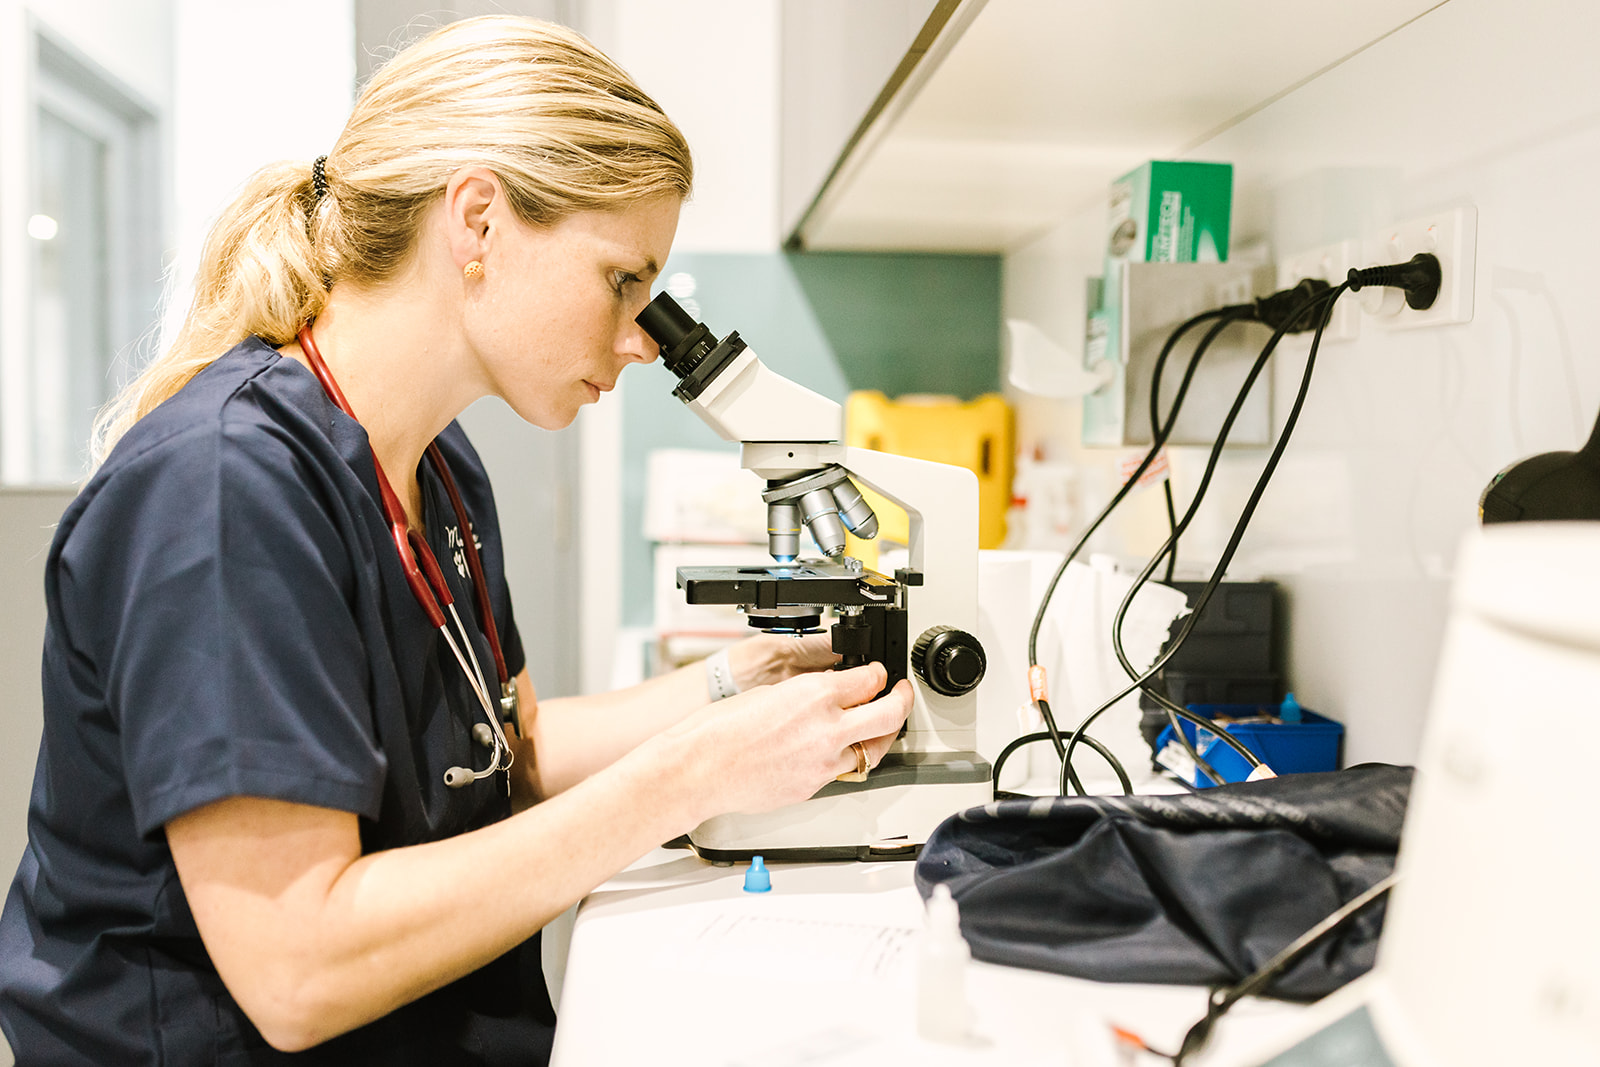
It sounds so simple but being confident with your microscope and its parts can make a big difference. Often in practice there are multiple users utilising the same scope, so take a moment to make sure that the eyepieces (and stool height!) are adjusted to your needs to ensure easy (and comfortable) viewing.
Always check that the condenser is in the desired position (usually high for stained samples, low for unstained samples or larger objects such as parasites and their eggs.) Set a protocol to do a little daily microscope maintenance. Clean all lenses with a cotton tip and distilled water or an alcohol-based lens cleaner at the end of the day, always use a lens tissue to wipe the 100x after oil immersion and wipe off any oil that gets on the stage.
If you’re sending samples to the lab, try to keep a sample in reserve and either take some notes before discarding or store it in a slide case for further review once the lab report comes in. This is a great way to build your interpretation skills.
5. Try in-house gram staining.
Diff Quick® stains are a given in any modern veterinary clinic, but in-house gram stains are less common. Like Diff Quick®, gram staining is a simple and time efficient procedure, the stains are affordable, and the staining procedure is straight forward. Culture and susceptibility testing can take 24-72 hours, and we often need to start our patients on an antimicrobial in the meantime. An in-house gram stain can provide good evidence to support appropriate antimicrobial therapy while awaiting C & S results. Getting this decision right at the beginning can avoid unnecessary therapy or the need for broad-spectrum coverage when a narrow-spectrum agent is appropriate. This not only improves our antimicrobial prescribing, but also reduces the selection pressure for antimicrobial resistance.
